
My New Favorite Markdown Editors
An update to the best markdown-supported text editors on Windows, Mac, and iPadOS.
This is an updated version of My Favorite Markdown Editors, which I published on November 9th, 2023. The only change is me adding a separate pick for my favorite markdown editor for the iPad.
Since I was introduced to Markdown by Federico Vittici, and later the actual creator of the language John Gruber, it has become my favorite way of writing on every platform from the Mac, iPadOS, and Windows.
You can write in the Markdown syntax in any text editor really, but the ones that support it can provide visual representation of the syntax which is what I prefer.
If you want to learn more about Markdown I would suggest you check out John Gruber’s write-up about it on his website Daring Fireball:

Now when it comes to Markdown editors, you can be presented with a variety of ways that they support it. Some show slight visual cues of what you are wanting to the text to look like, but some like Ulysses literally replaces the text with the formatted version that you specified using Markdown.
You can also find some that are cross-platform. One very popular option is iA Writer which is praised by many, but not an app I became very fond of. The last thing I will mention before we go through the list is the costs can vary widely as well on the ones that I like; as you will see later.
iPadOS: Drafts
Ulysses has been my default writing app for years now regardless of what Apple product that I am on. But after almost 4 years of use, I wanted to see if there was something else that would meet my needs.
I tried Microsoft Word, but even if you can get Markdown to work, it wasn’t supported natively. I also looked at other options like iA Writer, but nothing met the needs that I was looking for.

Drafts have always been a popular app for the iPhone, and many see the app like its tagline states “Where Text Starts”. I remember in the heyday of Twitter many liked to start in Drafts to write a Tweet and then share it to Twitter from the Drafts app to avoid getting sucked into the infinity-pool-Twitter-feed.
The Drafts app continues to offer this and with a huge number of Actions available, you can start with your text in Drafts and do so many things from there. For me, I needed something simple; posting a draft to Medium. Which Drafts does effortlessly.
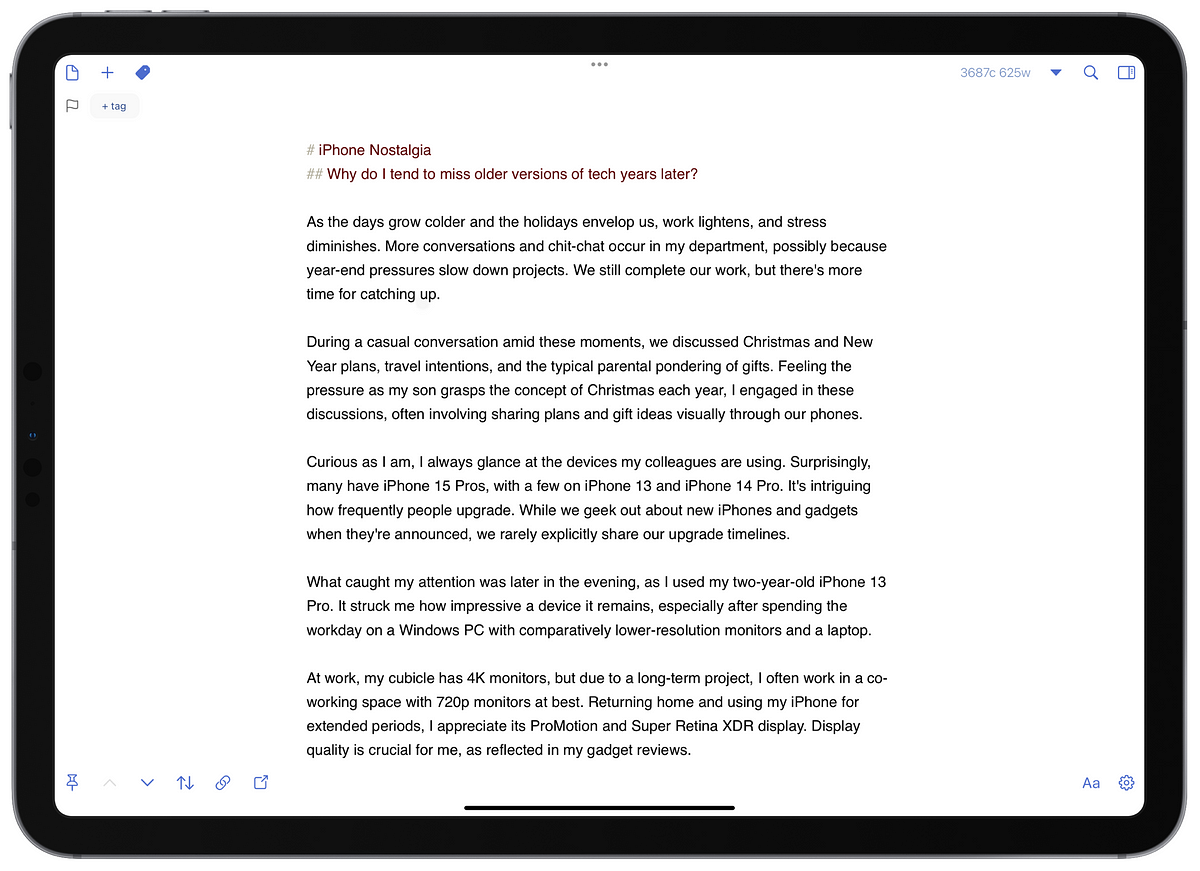
What I needed that other Markdown and text editors struggled to provide on the iPad was being ability to set specific margins and font in the editor. At first, I thought Drafts also didn’t meet this need for me, until I started to understand the settings better.

If I have any negative thing to say about Drafts is that its menus for settings are a bit confusing. There are multiple places to go, and I get lost in where to find certain settings that I need to change. Once I grasped where to find things though, I was able to make Drafts meet all my needs for the iPad.
Since setting up the margins and fonts how I want, I have been writing in Drafts, almost exclusively on the iPad, for my newsletter and Techuisite. It has been great, and the best part; the free version is more than enough for what I need.
Don’t get me wrong. $39.99 a year for Ulysses and being able to use it on all my Apple products isn’t bad. But you can’t beat free. Plus the Premium version of Drafts is only $20, half of what Ulysses offers and you get the same access on all platforms without having to pay for each (plus you get an Apple Watch app which Ulysses doesn’t offer.)
macOS: Ulysses

Since taking writing more seriously and signing up for Medium’s Partner Program, I started to use Ulysses exclusively. Over three years later and it is still one of my best writing tools of all time.
I recommend you checkout my different Writing Workflows where I describe using Ulysses on a MacBook Pro, iMac Pro, and iPad Pro:

Ulysses does format your Markdown in a certain way, and I know many don’t prefer it, but I actually like it and proffered it for years when I was just getting started with Markdown. It was cool to see my syntax format in real time to see what the text would look like when I imported it to Medium.
A few other features with Ulysses that I love are its integration with Medium to push your Markdown text as a draft, the customization in organizing your files and folders, and it’s simple clean design.
The great thing about Ulysses is that it is practically the same on all the platforms that it supports. Obviously the hardware will determine part of your experience, because of different display sizes. But whether you are in macOS, iPadOS, and iOS the features are almost identical. Obviously there will be some OS restrictions but Ulysses does a great job of providing most things on all platforms.
You can choose other themes available in the app, plus there are a ton of other custom themes available that fit whatever style you seek. If you are looking for an all-around great writing app, you can’t go wrong with Ulysses.
At $39 a year or $5.99 a month, it isn’t that expensive when you consider that you get all the version for Mac, iPad, and iOS.
Windows: MarkText

I don’t know when I stumbled on the open-source Markdown editor Marktext, but it feels wrong that I get this editor on a Windows (or Mac) for free. Like all the text editors I will mention in this post, it is simple, clean, and has a special Markdown touch.
Before I continue I do want to mention that even though this is available on the Mac, I prefer Ulysses so that is why this wasn’t both my Mac and Windows choice.
Marktext has some similarities to Ulysses in that it will format the Markdown syntax for you, but with an extra touch of showing things like your header option on the left side of the text margin when your cursor is in that row. All other syntax is hidden when the formatting takes over.
A big reason why I love MartText and Ulysses is the Margins that it provides as default in the editor. After using Word for years, and Ulysses, I am used to have my text in the middle of my display. Some editors like to start at the very far left of the screen and reach all the way to the right side of screen. This is not ideal for me, I prefer to have much smaller margins to see more paragraphs.
Medium may be the curprit in why I like my text editor setup this way, since that is where I am usually posting my writing when I am finished. So seeing what it will look like when it is published on my blog is ideal when I am writing, to ensure that my paragraphs are not too long or short.
MarkText does not have a built-in folder strucutre like Ulysses, so instead you have to go to File>Open or File>New Tab or Window to start writing. The tab feature is cool since it allows you to have multiple files open at once, but since it is a small tab at the top instead of sheets, like Ulysses, on the side of the screen, it makes for a more clean environment.
You have a few themes to choose from, I like the Dark version the best, and one of my favorite, and very simple, features is the word count displaying at the top left of the window. You can change it to paragraphs or character count instead too by just clicking on it, but work count is important to me to avoid going too overboard when I am working on a blog post.
If you are in Windows or Mac, and want a free but very great and simple text editor that supports Markdown, you really can’t go wrong with MarkText.